September 26, 2023Little Craft Collective
Cardboard Planes Craft

These little cardboard planes are the perfect activity to keep your kids entertained these school holidays! Using materials from around home this is the perfect craft! Come along and follow the step by step instructions on how to make these sweet planes.
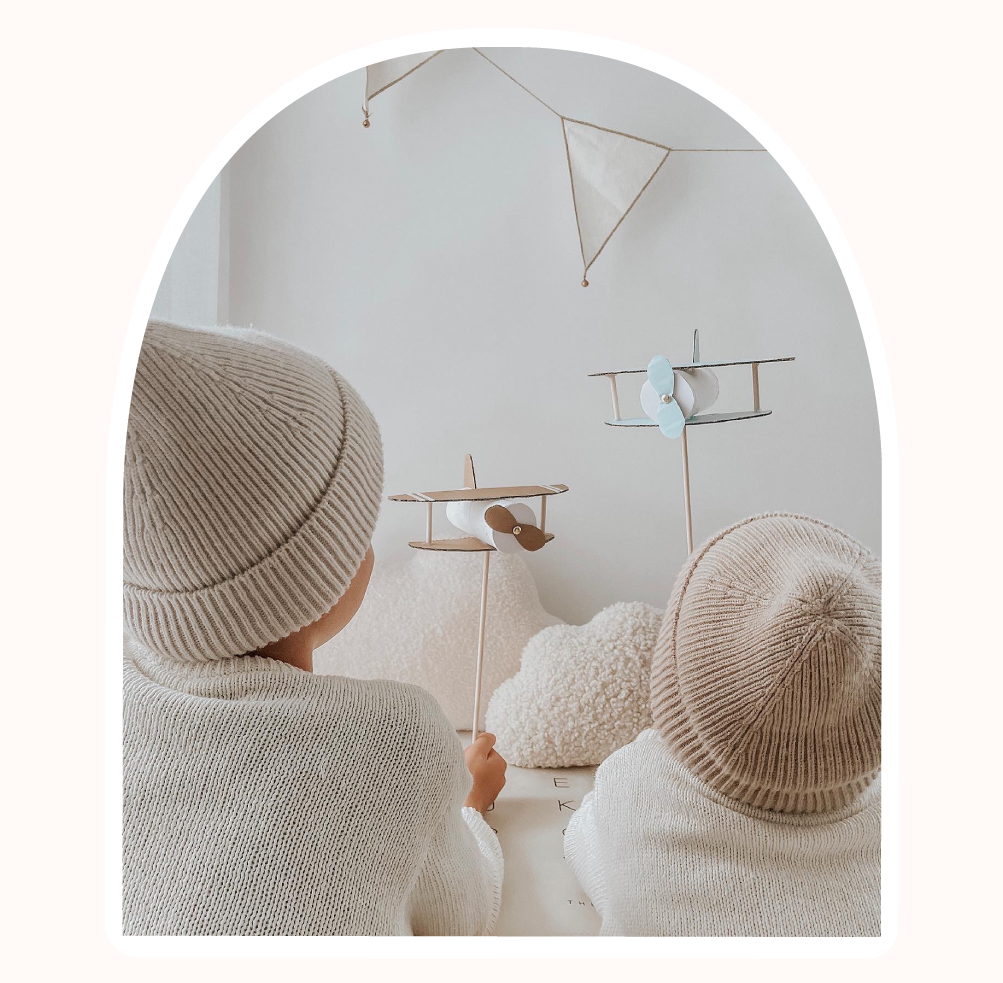
You will need:
Paper toilet roll
Paper toilet roll
Cardboard
Card paper
A glue gun & glue sticks
Split pin
2x Long Wooden craft sticks
Scissors
To decorate you can use anything you want
Paint / felts / crayons / Coloured paper even old wrapping paper.
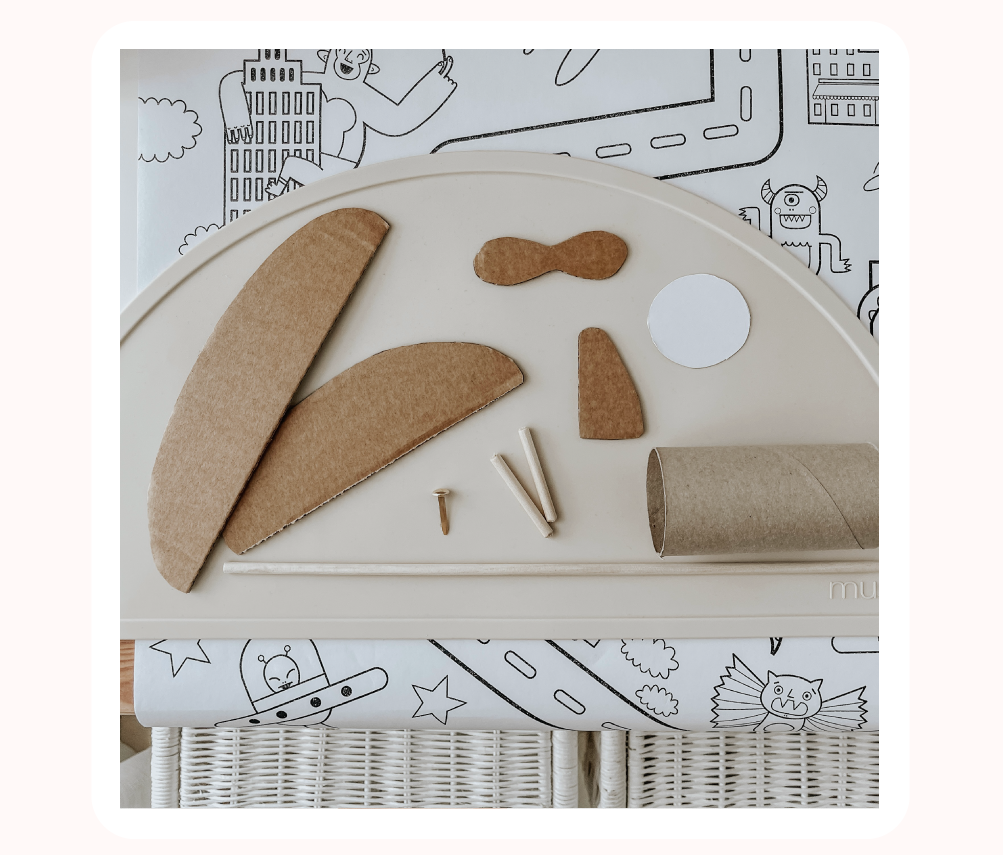
Step One:
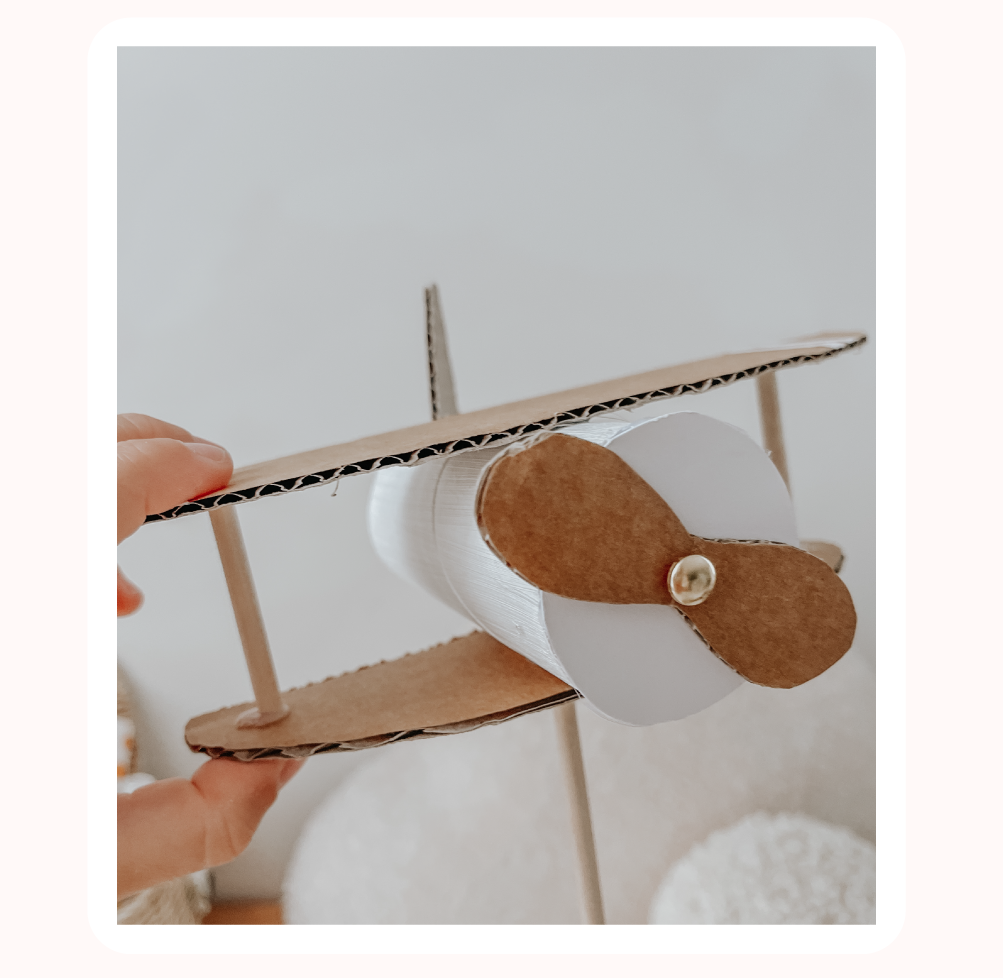
Draw up your plane wings, tail, propeller on a piece of cardboard. When drawing the wings keep in mind one needs to be slightly smaller than the other. On the card paper take the toilet roll and trace around the end to create the cover that will sit at the front of the plane where the propeller is. Cut these pieces out.
Draw up your plane wings, tail, propeller on a piece of cardboard. When drawing the wings keep in mind one needs to be slightly smaller than the other. On the card paper take the toilet roll and trace around the end to create the cover that will sit at the front of the plane where the propeller is. Cut these pieces out.
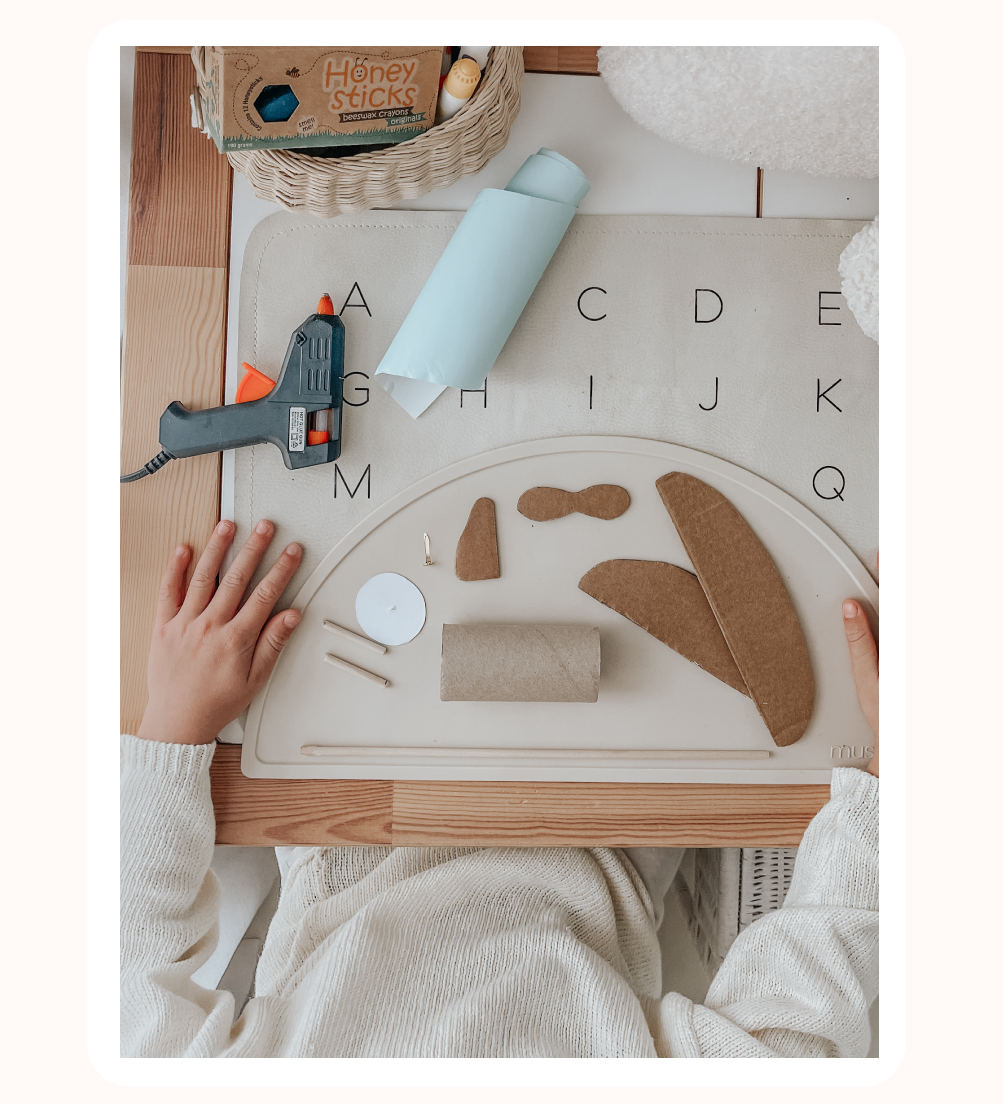
Step Two:
Once you have your pieces cut out now’s the time to colour decorate your wings / toilet roll ect. We used some old blue wrapping paper and glue sticked it to the cardboard. We also painted the toilet rolls white.
Once you have your pieces cut out now’s the time to colour decorate your wings / toilet roll ect. We used some old blue wrapping paper and glue sticked it to the cardboard. We also painted the toilet rolls white.
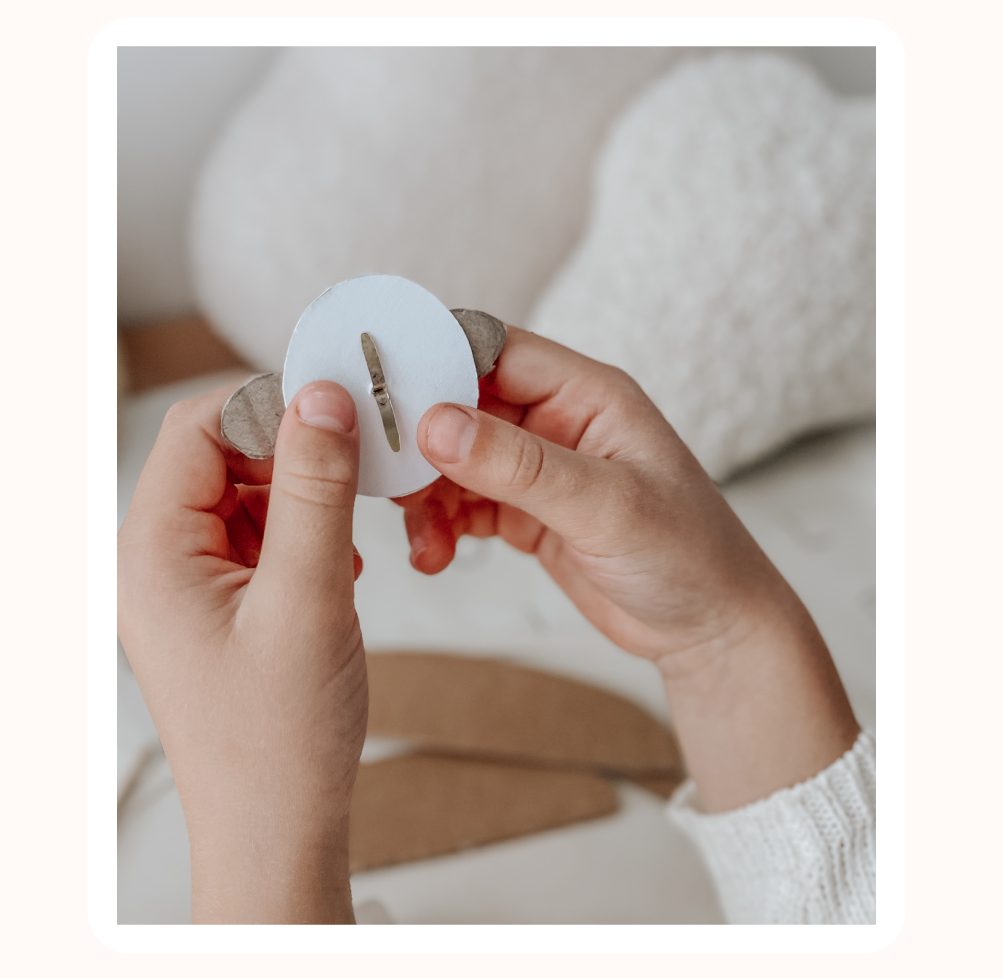
Step Three:
Once pieces are decorated we put a small hole in the middle of the propeller to make it easier for the split pin to slide through.Then we attached the propeller with the split pin in to the round piece of card previously cut and secure on the card by bending your split pin in opposite directions.
Once pieces are decorated we put a small hole in the middle of the propeller to make it easier for the split pin to slide through.Then we attached the propeller with the split pin in to the round piece of card previously cut and secure on the card by bending your split pin in opposite directions.
Step Four:
Measuring out one of your wooden craft sticks to create two small pieces to sit between your wings these need to be as long as the height of your toilet roll once sitting on its side. Cut the pieces.
Measuring out one of your wooden craft sticks to create two small pieces to sit between your wings these need to be as long as the height of your toilet roll once sitting on its side. Cut the pieces.
Step Five:
Assembling the plane, time to turn on the glue gun. Glue on your biggest wing piece centred in the middle of the toilet roll. Repeat on the opposite side of the roll with the smallest wing.
Assembling the plane, time to turn on the glue gun. Glue on your biggest wing piece centred in the middle of the toilet roll. Repeat on the opposite side of the roll with the smallest wing.
Step Six:
Grab the two small pre cut wooden sticks to place near the end and between the two cardboard wings glue each end of the sticks and gently press the outside of the two wings till glue is set & wooden stick is secure. Repeat opposite side.
Grab the two small pre cut wooden sticks to place near the end and between the two cardboard wings glue each end of the sticks and gently press the outside of the two wings till glue is set & wooden stick is secure. Repeat opposite side.
Step Seven:
Cut a small line in the middle of your tail piece to slide into the back piece of your toilet roll, can glue to secure.
Cut a small line in the middle of your tail piece to slide into the back piece of your toilet roll, can glue to secure.
Step Eight:
Your last wooden stick is to be used for the plane handle (this is optional) . Make a small hole at the bottom of the plane for the stick to push through the roll then glue at the base of plane and around the stick to secure. Let the glue dry for a moment and you are done.
Your last wooden stick is to be used for the plane handle (this is optional) . Make a small hole at the bottom of the plane for the stick to push through the roll then glue at the base of plane and around the stick to secure. Let the glue dry for a moment and you are done.

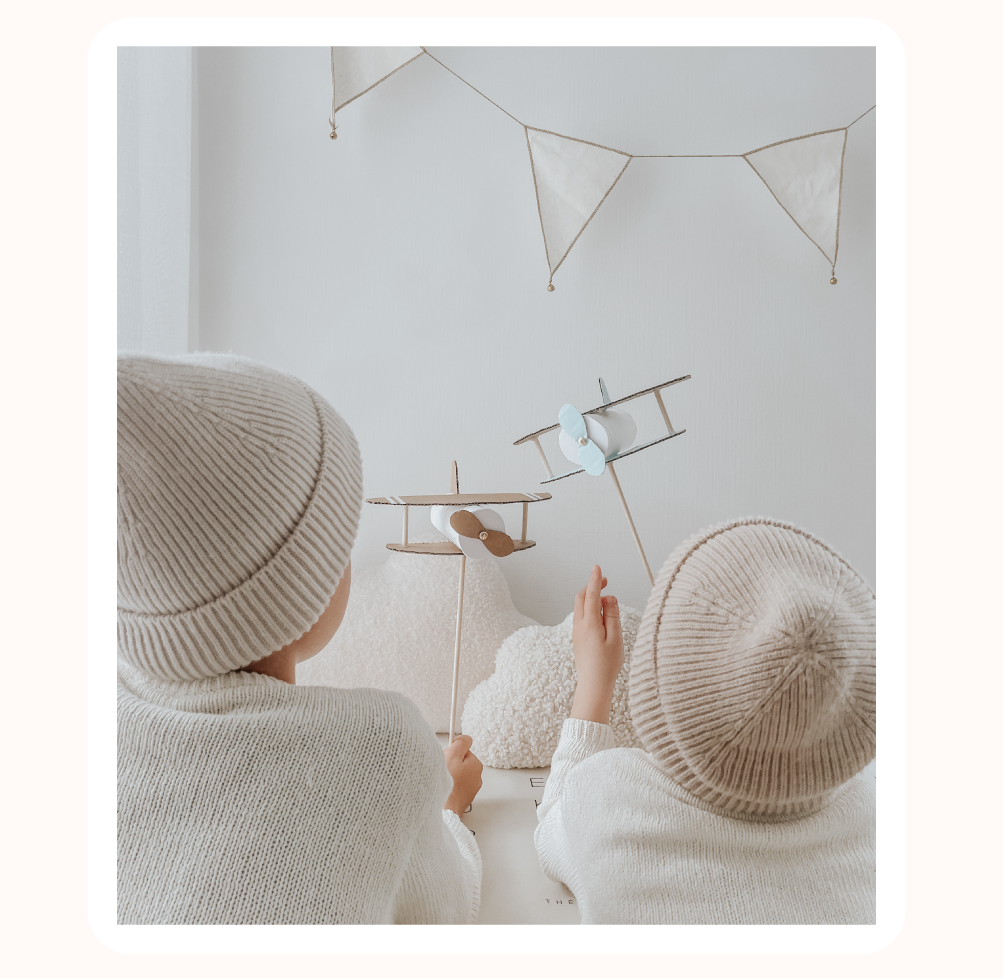
This beautiful craft is bought to us by Penny and her boys, Jaxon & Zac. It is the sweetest little craft to do with your kids over the school holidays. You can follow Penny on Instagram over at @littleneedham


